
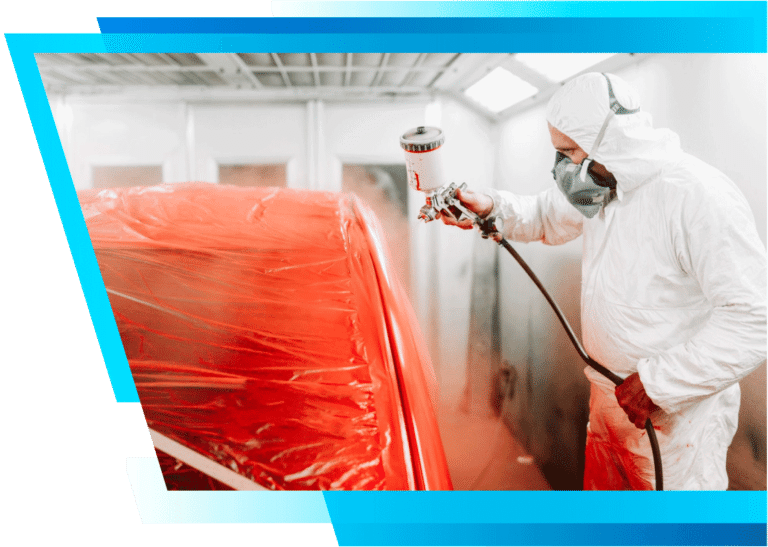
Most people hand over their keys, come back in a day or two, and never see what happened in between the paint protection installation. That gap is where all the quality lives. Paint protection film installation looks simple from the outside, just a clear sheet pressed onto paint. The version done well involves a long chain of distinct stages, and skipping any one of them shows up later.
So this post opens the bay doors. Stand inside a shop and watch a paint protection film installation from start to finish, and here is more or less what you would see. Each stage below appears in order, with the reason for its existence. Knowing the sequence also gives you better questions to ask before you book anywhere.
Step 1: Inspection Under Bright Light
Before anything gets wet, an installer walks the car under high-output lamps and notes every chip, swirl mark, and prior touch-up. The film is transparent. Whatever sits underneath it stays on display for years, so this inspection decides whether the car needs paint correction first. Oddly enough, this is also where installers catch resprayed panels the owner never knew about, usually from a previous owner’s parking lot mishap. Photos get taken at this point too, so both you and the shop agree on the starting condition.
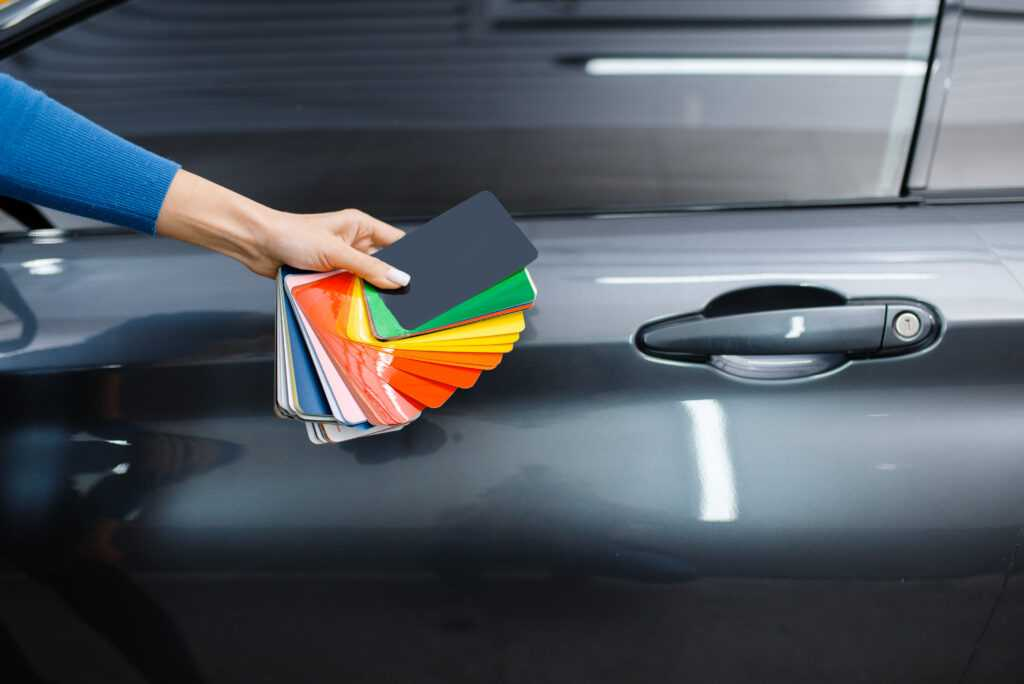
Step 2: Decontamination, Not Just a Wash
A regular wash removes dirt you can see. Film prep goes further. The installer follows the wash with an iron remover that dissolves brake dust bonded into the paint. A clay treatment comes next and pulls out whatever remains. Run your hand over a panel after this stage, and it feels like glass. Adhesive needs that surface, since it bonds to whatever it touches, contamination included. Trap a bonded iron speck under clear film, and you will stare at it every time you wash the hood.
Step 3: Removing Badges, Trim, and Sometimes Whole Panels
Emblems come off. Door handles too, on some packages. Sensors and cameras get noted and worked around with care, since modern bumpers hide more electronics than most owners realize. On certain cars, the front bumper comes off the vehicle entirely, which sounds extreme until you understand why. Film wrapped around a panel edge holds far better than film trimmed at the edge, and you cannot wrap what you cannot reach. This stage separates shops that care about year eight from shops that care about pickup day. It also explains a chunk of the price difference between quotes.
Step 4: Cutting the Film to Fit Your Exact Car
Modern shops pull a digital pattern for your make, model, and year, then a plotter cuts the film before it ever meets the vehicle. Some sections still get cut by hand, mirror caps and odd curves mostly, and that takes a steady hand and real experience. Ask which approach your shop uses. Pre-cut patterns protect your paint from stray blade marks, which is a significant risk of full bulk cutting on the car. The trade-off runs the other way too, since hand-cut sections can wrap edges a pattern sometimes cannot. A shop that uses both, each where it fits, tends to know its trade.
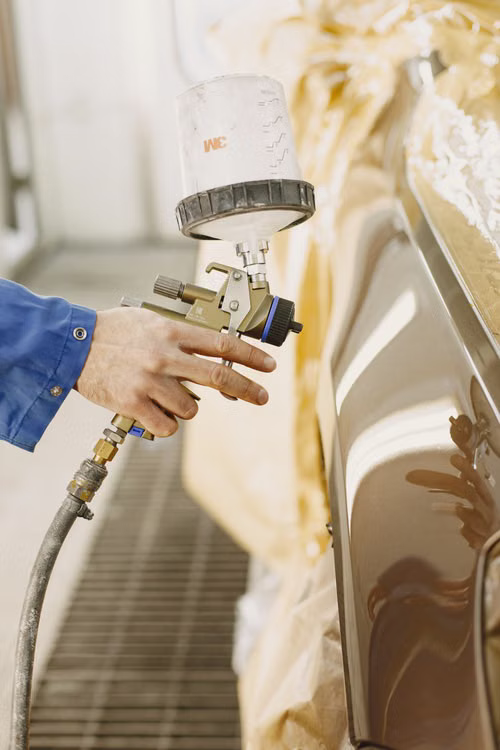
Step 5: The Float, the Squeegee, and the Part That Looks Like Magic
The installer sprays the panel and the adhesive side of the film with a slip solution, mostly water with a trace of soap. The film then floats on the surface, movable, until it sits exactly right. A squeegee pushes the solution out from the center toward the edges. At corners and edges, a different mix called tack solution kills the slip so the film locks down. Watching this stage is strangely calming, right up until a curve fights back. Then it becomes a patience test, and rushing it leaves fingers, the little tension creases that never relax.
Step 6: Heat, Stretch, and Self-Healing
Compound curves need heat. A heat gun softens the film so it stretches around a bumper contour without creasing. The same heat later activates the top coat’s self-healing behavior. That top layer flows back over light swirls once the sun warms it. Filmmakers describe this self-healing behavior in their own technical guides, so the claim is theirs, not marketing spin from installers. Too much heat, though, and the film thins out and fails early. Experience decides that line.
Step 7: Final Inspection and the Pickup Walkthrough
Trim goes back on, the car returns to the bright lights, and the installer checks every edge, seam, and corner. A good shop then walks you around the car at pickup and points out what to expect while the adhesive finishes setting. A shop that skips this walkthrough owes you one, and asking for it is fair. You paid for the last step too.
What This Sequence Means for You
Now flip all of this into buying advice, because the sequence is only useful if it changes how you shop. Ask a shop how they prep the paint, whether they pull trim, whether patterns are pre-cut, and who does the hand cutting. The answers reveal more than any review score, because reviews mostly measure friendliness at the counter, not what happened behind the bay door. A shop that shrugs at these questions probably compresses steps, and compressed steps become lifted edges and trapped specks on your hood.